I turned my gaming rig into a hackerspace server… and gaming rig

I switched from daily driving a gaming desktop running Windows, to a Macbook Pro about a year ago. Since that time, I’ve kept the gaming rig running alongside the Mac in my hideout for some weekend Minecraft action, but not much else… until now.
I recently picked up a second 3D Printer, but didn’t have a Raspberry Pi available for another Octoprint server (And I’m definitely not buying one at today’s prices). Both printers live on the plywood server rack next to my desk, right above my gaming rig. Instead of trying to get one Pi to run 2 instances (supposedly it can be done), I’m looking to my gaming rig to pull double triple all the duties. Here’s what I did:
The Server
Here’s what I’m working with:
- CPU: Intel 6700K
- Mobo: Asus Z170-Deluxe
- RAM: 32GB DDR4
- GPU: EVGA GTX 1080 SC 8GB
- Storage: Samsung 870 EVO 2TB SSD
- Case: Cooler Master MasterCase Pro 5
When I built this rig in 2016, I went a little overkill on the specs in case I wanted to do more with it “one day”. Today is that day - this new server is running several things for me:
- A gaming VM with GPU/hardware passthrough running Windows
- Additional Linux Desktop VMs with the same passthroughs
- Debian VM (no passthroughs) to be a lab server
- 2 Octoprint containers for my 3D Printers
Proxmox
I’m using Proxmox for the hypervisor. I tried following several guides to get GPU passthrough working correctly - this guide from Elijah Liedtke got me mostly up and running. It goes into much more detail than I’m about to, but here’s what I did:
From the PVE shell
Edit /etc/default/grub and set
GRUB_CMDLINE_LINUX_DEFAULT="quiet intel_iommu=on iommu=pt"
Then run update-grub2
Edit /etc/modules to include:
vfio
vfio_iommu_type1
vfio_pci
vfio_virqfd
Then run update-initramfs -u
Then restart
Desktop VM Setup
I followed these steps for each VM I wanted to use as a desktop with GPU/Hardware passthrough. Below are the options I changed, everything else was left default.
General
- Make sure the
Start at bootoption is NOT selected
OS (For Windows)
ISO Image: Windows 10 isoType: Microsoft WindowsVersion: 10/2016/2019
System
Machine: q35BIOS: OVMF (UEFI)Add EFI Disk: CheckedEFI Storage: (pick where to store it)Qemu Agent: Checked (The guide says to check this, but I disabled it after install - it was making shutdown commands hang)
Disks
- I created a single 1TB SATA drive with SSD emulation for my Windows box
CPU
Sockets: 1Cores: 8Type: Skylake-Client
Memory
- I allocated 16 GB
Network
- Kept defaults but selected
disconnectfor the Windows VM. This keeps the machine offline until after Windows is installed (so you can create a local account).
Adding the GPU and other I/O
After creating the machine, but before starting it, I added the GPU. (Hardware tab -> Add -> PCI Device). Mine had options for both the GPU and the Audio controller - I picked only the GPU with these settings:
All Functions: CheckedROM-Bar: CheckedPCI Express: CheckedPrimary GPU: NOT Checked
I also added the Keyboard, Mouse, Xbox Controller, and HD Audio Controller PCI-E device to get the front and rear headphone ports. If you’ve got other devices you want connected, this is where to add them.
Boot and Drivers - Windows
I booted the machine and installed Windows as normal using the PVE Console. Once it was installed, I unchecked the disconnected option for the network card to get network access and installed the drivers for the graphics card, and… it worked.
I had the Windows desktop showing on both of the attached monitors. The guide said this is where I’d see Error 43 on the GPU in Device Manager, but I never saw it. Since it never showed up, I never went back and enabled the Primary GPU option for the PCI device.
Next I shut down the VM from within Windows, then under the Hardware tab in Proxmox, I changed the Display setting to None. This disables the PVE Console and gets rid of the associated “monitor” in Windows so it only feeds the physical displays attached to the box.
And that was it - that’s a Windows VM with GPU passthrough. I haven’t done much testing with AAA titles for performance, but I’ve got Minecraft running buttery smooth with graphics set to fabulous, which is enough to cover my needs.
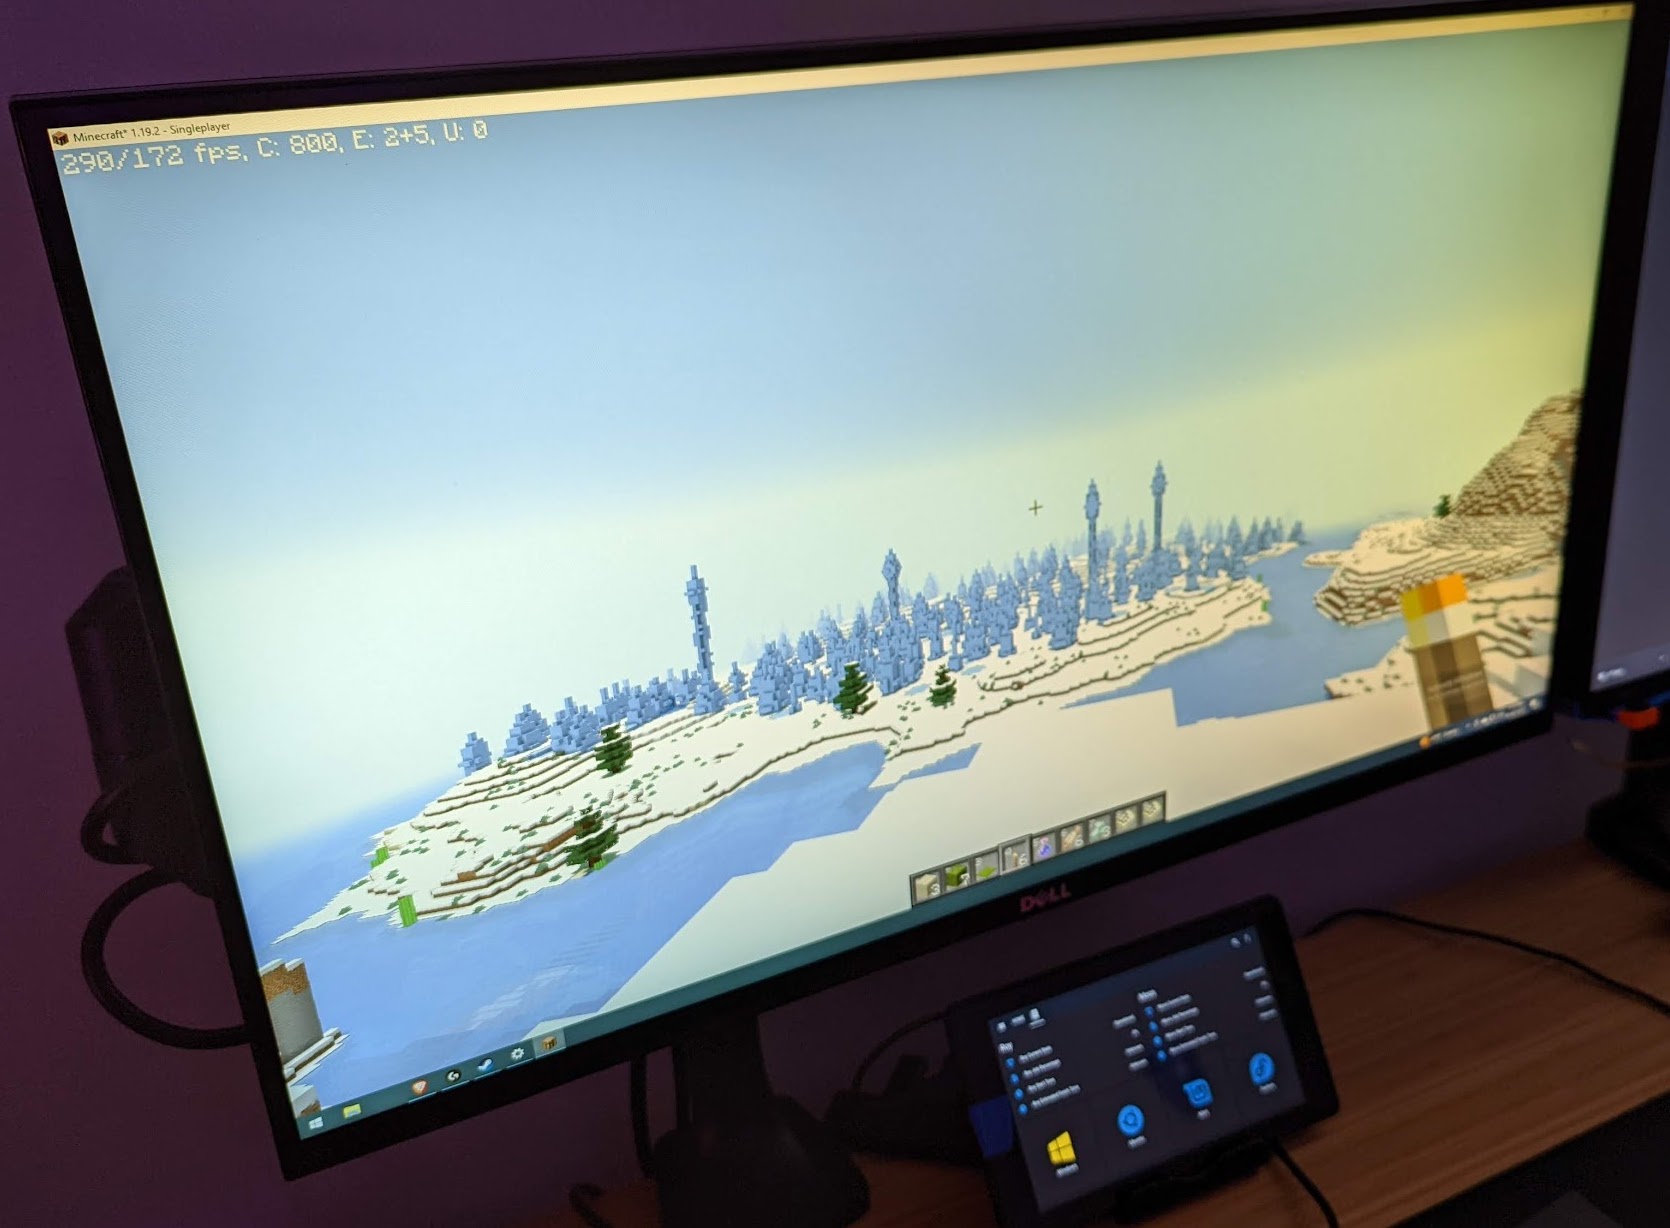 290 FPS
Other Desktop VMs
I followed the same steps to create an Ubuntu VM. As far as I can tell, you can make as many VMs as you want with the same hardware passed through to it as long as you only run one at a time. I haven’t been able to make hibernate/suspend commands via PVE work with these, but hibernating from inside Windows works fine. Switching between different VMs is fine, but you have to go into the PVE console to actually start the VMs… more on that in a sec.
Lab VM
I’ve got another VM running Debian, which is a lab/dev server to test and play with things before they go to homeprod. Nothing special here.
Octoprint
Instead of spinning up another VM for this, I installed docker/compose directly on the PVE host. Here’s the docker-compose for the Octoprint servers:
/opt/docker-compose.yml
services:
  roy:
    container_name: roy
    image: octoprint/octoprint
    restart: unless-stopped
    ports:
      - 80:80
    devices:
     - /dev/ttyACM0:/dev/ttyACM0
     - /dev/video0:/dev/video0
    volumes:
     - {{ appdata_path }}/roy:/octoprint
    environment:
     - ENABLE_MJPG_STREAMER=true

  moss:
    container_name: moss
    image: octoprint/octoprint
    restart: unless-stopped
    ports:
      - 8880:80
    devices:
     - /dev/ttyACM1:/dev/ttyACM0
     - /dev/video2:/dev/video0
    volumes:
     - {{ appdata_path }}/moss:/octoprint
    environment:
     - ENABLE_MJPG_STREAMER=true
/dev/ttyACMx are the 3D Printers, /dev/videox are the webcams. Figuring out which device was which took some trial and error, but it’s stayed consistent.
2023-02-25 UPDATE: 2 printers and 2 cameras all on the same USB hub were enough to overload the USB bus and cause a couple problems. I’d recommend putting each printer/camera pair on it’s own bus.
HASS Tablet
One downside to this setup is having to use the PVE GUI to start/stop machines. To get around this, I wrote an automation that handles starting VMs via the Proxmox API, and put some buttons on a Home Assistant dashboard (alongside stats for the printers) on a tablet at that computer. Now all of my VMs are a button press away.
 I haven’t installed Mint and Fedora yet, but the dashboard looked weird with only two options
Since each of these desktop VMs share physical hardware passthroughs, only one can run at a time. My automation checks to make sure that all desktop VMs are in the stopped state before sending an API call to Proxmox to start the VM. I have a tendency to double tap buttons so I also throttled the number of button presses.
 I haven’t installed Mint and Fedora yet, but the automation looked weird with only two options
Conclusion
I’ve had this running for a couple weeks now. I was skeptical of how well a virtualized gaming machine would perform, but I genuinely can’t tell the difference. It’s legit. Gaming has been the only thing that still makes a Windows box useful for me. The extra functionality of this setup means I can (re)use that hardware for other things, which is excellent.
Oh, and I just freed up a Raspberry Pi!
 I haven’t installed Mint and Fedora yet, but this desk looked weird with only two options